Testing-mgsecure
This page being used for testing and development
MIT Guide to Lock Picking
Ted the Tool. September 1, 1991.
Copyright 1987, 1991 Theodore T. Tool. All rights reserved. Permission to reproduce this document on a non-profit basis is granted provided that this copyright and distribution notice is included in full. The information in this booklet is provided for educational purposes only. August 1991 revision.
Editor's note: The source PDF of this guide is available at https://www.lysator.liu.se/mit-guide/MITLockGuide.pdf (MD5 checksum: 2966b8658fd57ade59c97358edc73f2f). The version presented here has been edited for spelling and contemporary terminology only. Illustrations have be recreated in color for clarity and legibility.
It's Easy
The big secret of lock picking is that it's easy. Anyone can learn how to pick locks.
The theory of lock picking is the theory of exploiting mechanical defects. There are a few basic concepts and definitions but the bulk of the material consists of tricks for opening locks with particular defects or characteristics. The organization of this manual reflects this structure. The first few chapters present the vocabulary and basic information about locks and lock picking. There is no way to learn lock picking without practicing, so one chapter presents a set of carefully chosen exercises that will help you learn the skills of lock picking. The document ends with a catalog of the mechanical traits and defects found in locks and the techniques used to recognize and exploit them. The first appendix describes how to make lock picking tools. The other appendix presents some of the legal issues of lock picking.
The exercises are important. The only way to learn how to recognize and exploit the defects in a lock is to practice. This means practicing many times on the same lock as well as practicing on many different locks. Anyone can learn how to open desk and filing cabinet locks, but the ability to open most locks in under thirty seconds is a skill that requires practice.
Before getting into the details of locks and picking, it is worth pointing out that lock picking is just one way to bypass a lock, though it does cause less damage than brute force techniques. In fact, it may be easier to bypass the bolt mechanism than to bypass the lock. It may also be easier to bypass some other part of the door or even avoid the door entirely. Remember: There is always another way, usually a better one.
How a Key Opens a Lock
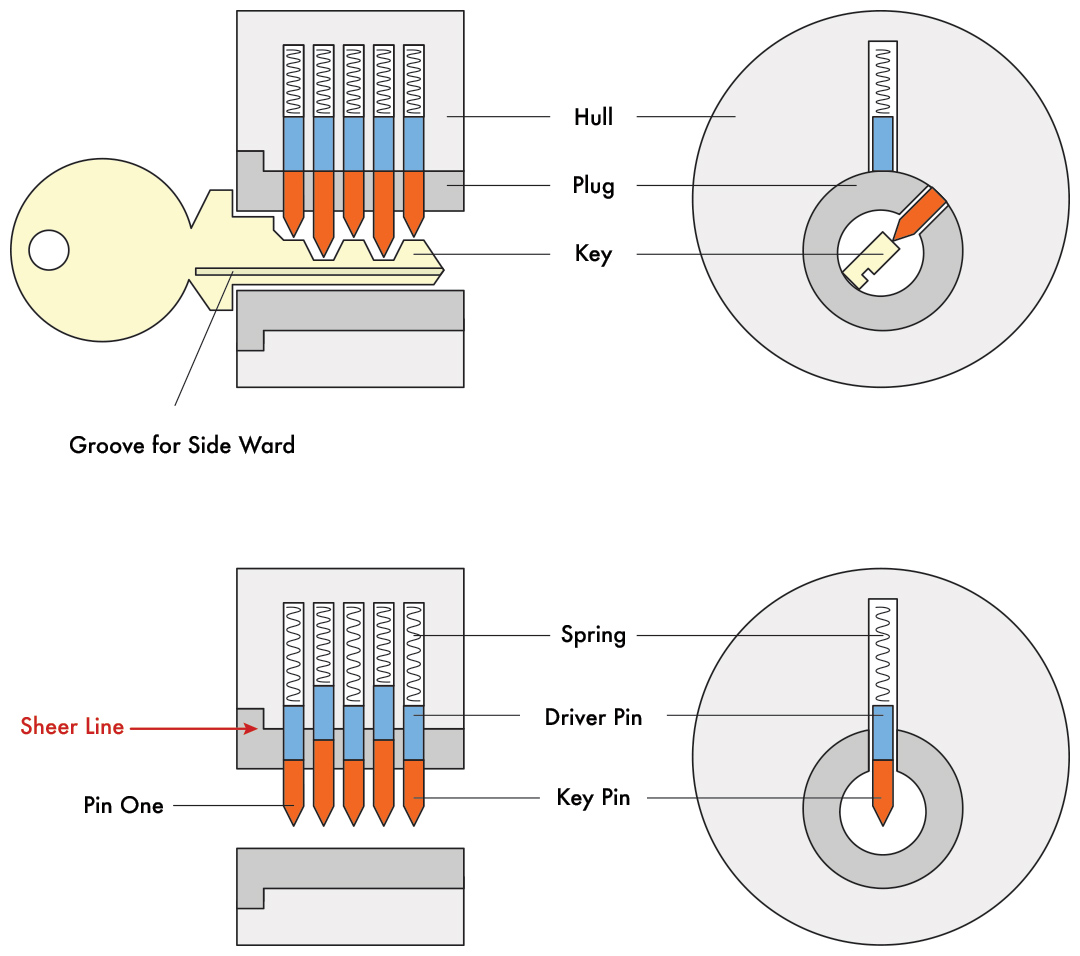
This chapter presents the basic workings of pin tumbler locks, and the vocabulary used in the rest of this booklet. The terms used to describe locks and lock parts vary from manufacture to manufacture and from city to city, so even if you already understand the basic workings of locks, you should look at figure 2.1 for the vocabulary.
Knowing how a lock works when it is opened by a key is only part of what you need to know. You also need to know how a lock responds to picking. Chapters 3 and 5 present models which will help you understand a lock's response to picking.
Figure 2.1 introduces the vocabulary of real locks. The key is inserted into the keyway of the plug. The protrusions on the side of the keyway are called wards. Wards restrict the set of keys that can be inserted into the plug. The plug is a cylinder which can rotate when the proper key is fully inserted. The non-rotating part of the lock is called the hull. The first pin touched by the key is called pin one. The remaining pins are numbered increasingly toward the rear of the lock.
The proper key lifts each pin pair until the gap between the key pin and the driver pin reaches the sheer line. When all the pins are in this position, the plug can rotate and the lock can be opened. An incorrect key will leave some of the pins protruding between the hull and the plug, and these pins will prevent the plug from rotating.
Disassembly instructions edit
Original: To disassemble a double euro cylinder, use of a pinning shoe is the preferred method. Other possibility is to use a segmented follower, but that requires that both cores are pulled out a bit to allow a cam removal. Then a core should be rotated to approximately 4:30 or 7:30 o'clock position (135 degrees either clockwise or anti-clockwise) to prevent driver entering a gaps for the cam clutch. Then a segmented follower can be used to remove the core.
Proposed edit: The use of a pinning shoe is the preferred method for disassembling a double euro cylinder. Another method is to use a segmented follower. The c-clips retaining both cores must first be removed and then both cores can be pulled out slightly in order to remove the center cam. One core should be rotated to approximately 4:30 or 7:30 o'clock position -- 135 degrees either clockwise or counter-clockwise -- once the cam is removed. This allows the core to be removed without driver pins entering gaps for the cam clutch. At that point, a segmented follower can be used to remove the core.
Locks not intended for installation and use can be disassembled in a quick but destructive procedure. The cylinder housing itself can be cut in the middle using a hacksaw or grinder. The cam will no longer be held in place and can be removed. The resulting two cut half euro cylinders can then be disassembled as outlined above.
Larger gallery thumbnails (200px)

Abloy Classic

Abloy Disclock
Abloy Easy

Abloy Exec
Abloy Novel

Abloy Profile

Abloy Protec
ABUS 72

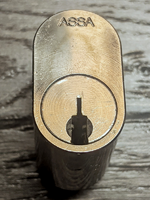
ASSA 700
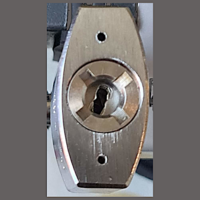
ASSA Desmo

ASSA Twin 6000

ASSA Twin V-10

Avocet ABS
Baton 40mm
BiLock FG

CISA C2000

CISA C3000
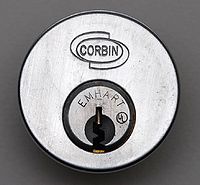
Corbin Emhart

Defiant

DOM DAS


Sortable, formatted table
| Belt | Make | Model | Notes |
|---|---|---|---|
| Orange | ABUS | ABUS 55 | |
| Purple | Mul-T-Lock | Mul-T-Lock Interactive | |
| Brown | ASSA | ASSA d12 / ASSA P600 | |
| Brown | Goal | Goal D9 | |
| Red | Goal | Goal V18 / Goal GP | (< 14 pins) |
| Black | Goal | Goal Grand V | |
| Black | Goal | Goal V18 / Goal GP | (≥ 14 pins) |
| Black | Goal | Goal Z | (<2 standard drivers) |